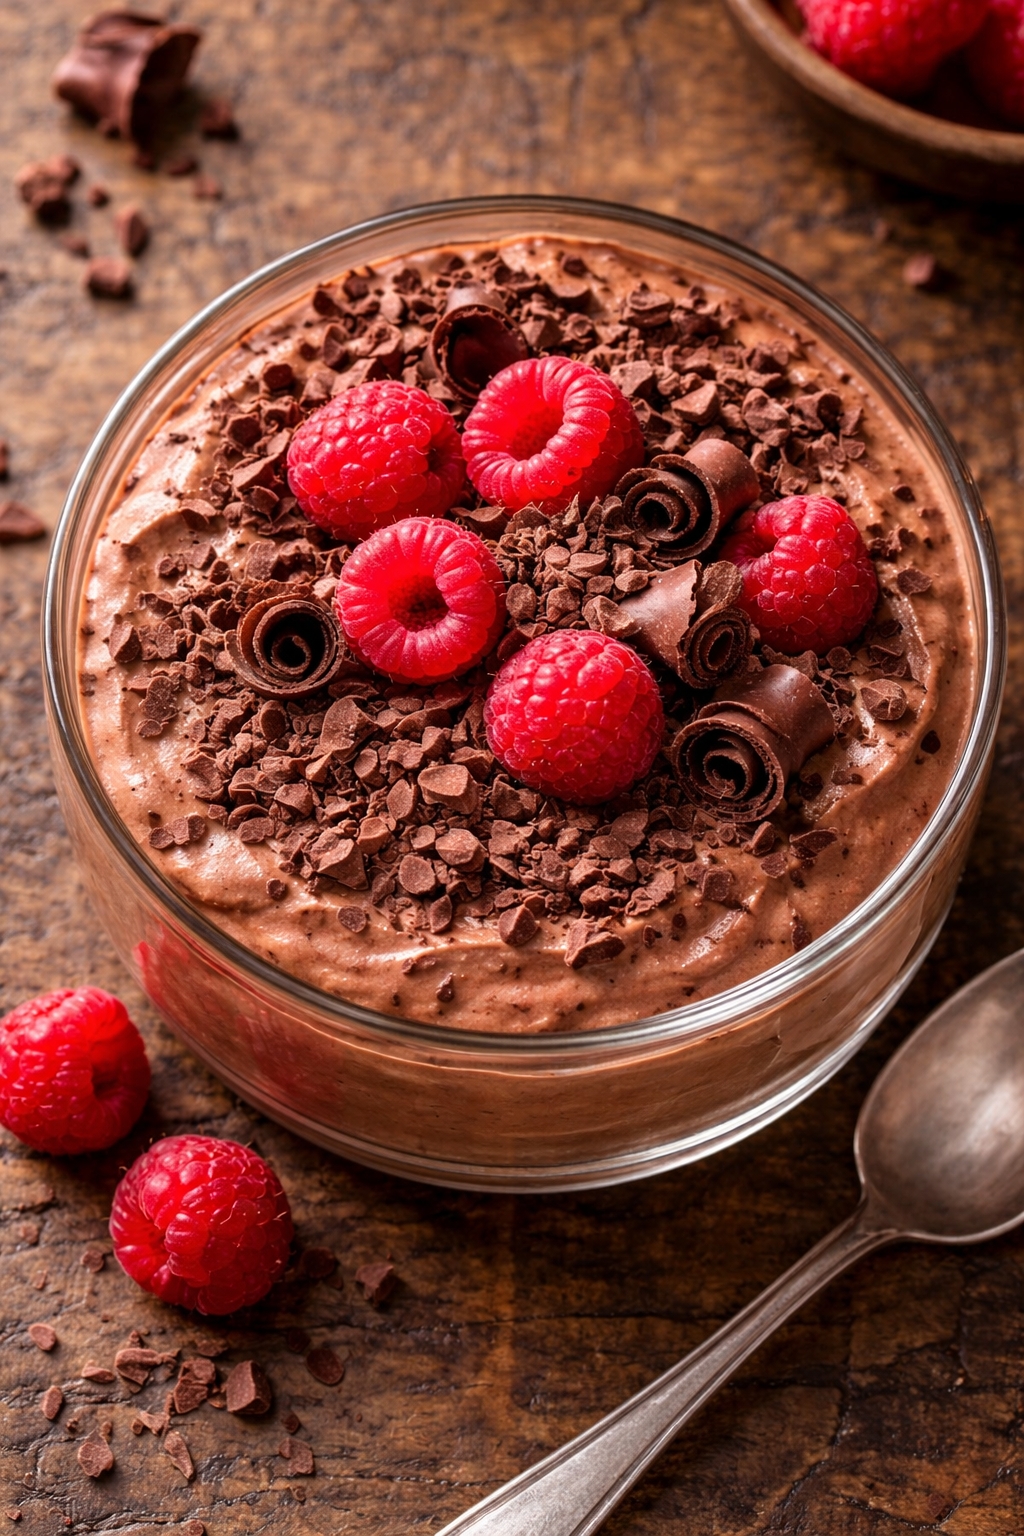
Cottage Cheese Chocolate Mousse - This cottage cheese chocolate mousse blends into a thick, creamy, velvety dessert that tastes rich and cocoa-forward while staying light enough for a high protein dessert routine. The texture is smooth and spoonable with a fudgy feel, and a small pinch of salt keeps the sweetness balanced instead of cloying. It is a no-bake protein dessert that comes together in minutes, chills into a better set, and works beautifully for meal prep in single-serve jars. The flavor reads like a healthy chocolate dessert with real indulgent vibes, especially when topped with berries, shaved chocolate, or crunchy nuts.
Cottage Cheese Chocolate Mousse - This recipe succeeds because you change the cottage cheese texture completely: blending breaks down the curds until the mixture turns creamy and glossy, which is what makes it feel like mousse instead of “healthy swap.” After testing with a quick stir and with a short blend, I found the longer blend time mattered more than extra ingredients; giving it 60–90 seconds in a high-speed blender makes the base velvety and removes any grainy bite. Cocoa powder can taste dry if it is not hydrated, so blending with a small amount of Greek yogurt and sweetener helps it emulsify into the base and stay smooth, while melted dark chocolate adds a deeper, fudgy finish that tastes like a real dessert. I also learned that adding the sweetener gradually and tasting before chilling prevents an overly sweet result, because cold desserts taste slightly less sweet after they set. This aligns with my focus on technique over complexity: the method is straightforward but delivers professional results because the texture is built by blending, not by adding heavy cream. This shows how basic ingredients create something special—cottage cheese becomes a creamy chocolate dessert, and a few smart toppings make it look elegant and save-worthy for wellness, dessert, and meal-prep boards.
Dietary Notes
- ✓ High-Protein Dessert
- ✓ No-Bake Meal Prep
- ✓ Blender-Smooth Texture
- ✓ Customizable Toppings
♥
Why You'll Love This
- Protein-Rich Treat: Cottage cheese blends into a creamy base that satisfies like mousse while boosting protein.
- No-Bake Simplicity: A quick blend and chill creates a thick, spoonable dessert with minimal effort.
- Real Chocolate Flavor: Cocoa plus dark chocolate builds a fudgy, cocoa-forward taste that feels like a true dessert.
- Easy to Personalize: Adjust sweetness, add espresso, or change toppings for endless variations without changing the method.
Cottage Cheese Chocolate Mousse
👩🍳 Author: Abderrahmane
⏰ Prep Time: 10min
❄️ Cool Time: 120
🔥 Cook Time: 0min
🥨 Yield: 4
🍞 Method: Blending
🌾 Diet: Vegetarian
★
★
★
★
★
Leave a review
1x
2x
3x
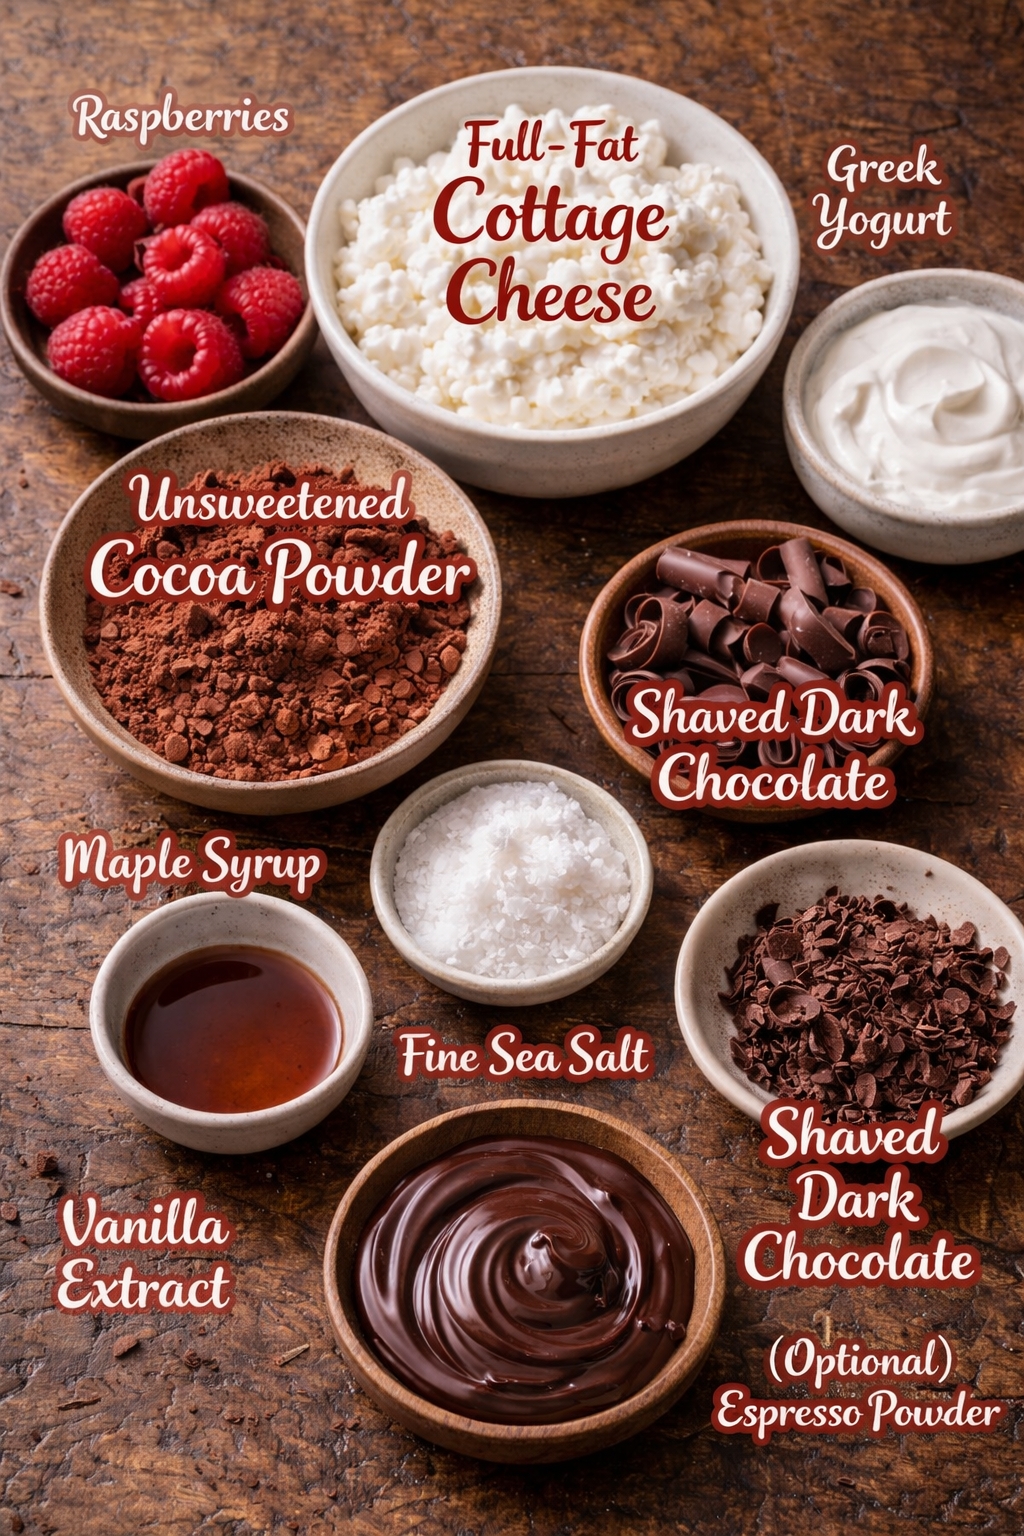
Ingredients
- 2 cups full-fat cottage cheese
- 1/3 cup unsweetened cocoa powder
- 1/2 cup Greek yogurt (plain)
- 3 tbsp maple syrup
- 2 oz dark chocolate, melted and cooled slightly
- 1 tsp vanilla extract
- 1/4 tsp fine sea salt
- 1/2 tsp espresso powder
- 1 cup raspberries
- 2 tbsp shaved dark chocolate
Ingredient Notes:
- full-fat cottage cheese Full-fat cottage cheese blends creamy and helps the mousse turn velvety; blend long enough to remove graininess, and if it tastes salty, balance with a touch more sweetener.
- unsweetened cocoa powder Use a quality cocoa for richer, cocoa-forward flavor; blend thoroughly to hydrate it so the texture stays creamy instead of dry or chalky.
- Greek yogurt (plain) Greek yogurt helps emulsify the base and adds tang that keeps sweetness in check; it also supports a thick, spoonable set after chilling.
- maple syrup Add maple syrup gradually and taste before chilling; cold desserts read less sweet, so this step guarantees balance without overshooting.
- dark chocolate, melted and cooled slightly Melt gently and cool slightly so it blends smoothly; warm chocolate adds a fudgy finish and helps the mousse turn glossy, not gritty.
- vanilla extract Vanilla rounds the chocolate notes and makes the dessert taste more complete; a small amount goes a long way in a no-bake protein dessert.
- fine sea salt Salt sharpens cocoa and prevents a flat, overly sweet result; if the mousse tastes bitter, a tiny extra pinch can build flavor and smooth the edges.
- espresso powder Espresso powder boosts chocolate flavor without making it taste like coffee; it is a simple restaurant-style trick for a deeper cocoa impression.
- raspberries Raspberries add tart acidity that cuts the rich, creamy base; add them right before serving so they stay fresh and keep the topping from turning watery.
- shaved dark chocolate Shaved chocolate adds aroma and a crisp bite; keep it dry and add at the end so it does not melt into the mousse and disappear.
Instructions
-
1Step 1: Melt the dark chocolate gently and let it cool until just warm - cooling prevents the blender base from seizing or turning grainy.
-
2Step 2: Add cottage cheese and Greek yogurt to a blender and blend 45–60 seconds until completely smooth - a longer blend builds a velvety mousse texture.
-
3Step 3: Add cocoa powder, vanilla, salt, and espresso powder, then blend 30–45 seconds until the cocoa disappears - thorough blending hydrates cocoa so it tastes creamy, not dry.
-
4Step 4: Stream in maple syrup and blend 10–15 seconds, then taste - adding sweetener gradually guarantees a balanced, cocoa-forward result.
-
5Step 5: With the blender running on low, pour in the melted chocolate and blend 15–20 seconds until glossy - this helps emulsify the mixture for a fudgier, thicker finish.
-
6Step 6: Spoon into four jars and tap each jar lightly to remove air bubbles - smoothing the surface makes the mousse look clean and photo-ready.
-
7Step 7: Chill at least 2 hours until the mousse feels thick and spoonable - chilling sets the texture and deepens the chocolate flavor.
-
8Step 8: Top with raspberries and shaved chocolate right before serving - fresh toppings keep a bright contrast and add crunch so the dessert feels complete.
Nutrition Facts
Calories 260
Protein 21g
Carbs 24g
Fiber 4g
Sugar 16g
Fat 10g
Sodium 420mg
Potassium N/A
Serving Suggestions
Spoon the mousse into small glasses or jars and chill until thick and cool, then finish with toppings right before serving so they stay crisp. For a clean presentation, smooth the top with the back of a spoon and add a few raspberries or sliced strawberries, plus a small pile of shaved dark chocolate. For extra crunch, sprinkle toasted nuts or cacao nibs on one side so the contrast shows in photos. Serve cold for the most mousse-like texture, and if you want a softer, more pudding-style feel, let it sit at room temperature for 5 minutes before eating.
How to Store?
Store the mousse covered in the fridge for up to 4 days; the flavor develops and the texture becomes even more velvety as it chills. Stir briefly before serving if any liquid separates, then top fresh. Freezing is possible but changes the texture: it will set firmer and can become slightly icy; if you freeze, portion into containers, freeze up to 1 month, and thaw overnight in the fridge, then re-blend for the smoothest finish. For make-ahead meal prep, portion into jars and keep toppings separate so berries stay fresh and crunchy toppings stay crisp.
If you enjoyed this Cottage Cheese Chocolate Mousse or any other recipe on my blog,
please leave a ⭐ star rating and let me know how it went
in the comments below. I appreciate you taking time to read about this recipe, thank you!


Leave a Comment